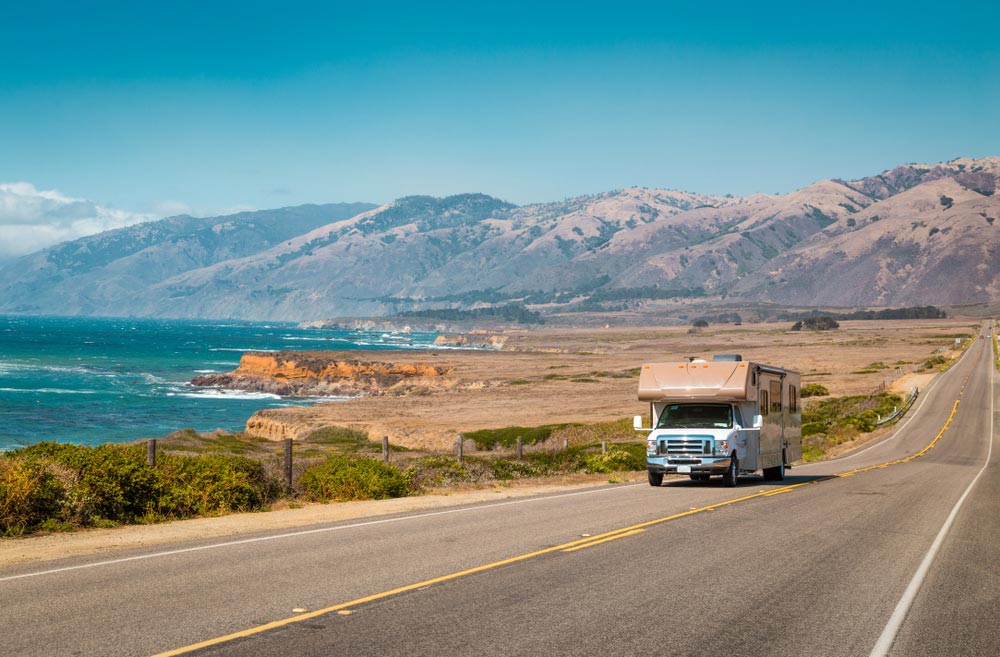
Spring is upon us, and we are all ready to get our RV’s back on the road again! Here are a few easy steps to be sure your RV is ready to go again! Although de-winterizing varies a bit between vehicle models and makes, these general tips will have your RV ready to hit the road this spring.
If winter camping isn’t your thing, you’ve likely been impatiently waiting for spring to arrive so that you can return to the campgrounds and get back to sleeping under the stars. We previously gave you 9 tips for staying warm in your sleeping bag to get you ready for tent camping during chilly springtime nights. If RVs are more your style, then this is the preparation guide for you: how to de-winterize your RV. (You did winterize, right?)
De-winterizing your RV is essential. It helps to flush out antifreeze that collected in the lines during the winter months, and ensures that the battery is completely charged, the propane gas lines are intact, and the tires are properly pressurized. Although de-winterizing varies a bit between vehicle models and makes, these general tips will have your RV ready to hit the road this spring.
1. Charge your Battery
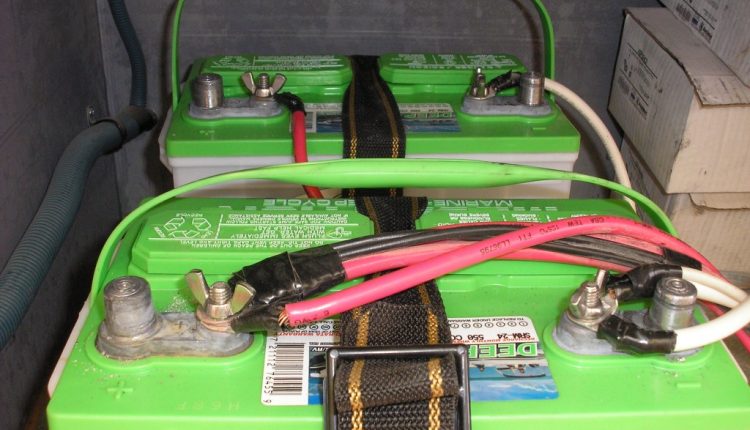
Technically step 1 would be removing the RV’s exterior covers, but that is kind of a given. After that, start charging your battery. Make sure the charger is off while you connect it to the RV. Place the battery near the charger, and then connect the black cable to the RV’s black terminal and the red cable to the RV’s red terminal. Use the dial to set the charger’s voltage to 12V, and then turn it on. Let the battery charge while you tend to the remaining de-winterizing steps.
2. Flush the System
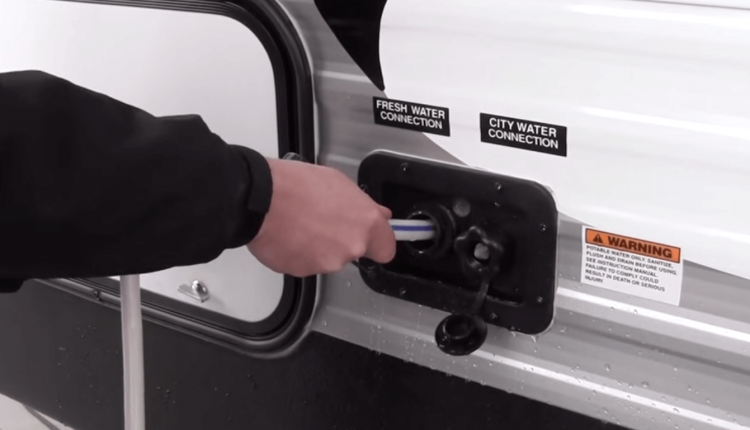 Connect … Read the rest
The post 6 Steps to De-winterizing Your RV appeared first on Outdoor Fact.
from Outdoor Fact http://bit.ly/2WnyiTf
Comments
Post a Comment